About invoice templates
To invoice your customers from Autotask, you need to upload your logo and select a default invoice template that will be used when no other selection was made.
Uploading your local organization's logo
All system invoice templates are designed to display the primary logo. For directions on uploading your local organization's logo and setting it as the primary logo, refer to the context-sensitive help on the following page: Left Navigation Menu > Admin > Admin Categories > Features & Settings > Application-Wide (Shared) Features > Logos.
Picking a default invoice template
Your Autotask instance contains four invoice templates. The Standard (Bill To on left side) - can be edited invoice template is set as the default. If you email your invoices from Autotask or publish them to your customers in the Client Portal, you can pick any of them. If you mail them to your customers, you will want to pick one that fits your envelopes. The differences are pretty small.
Columns displayed on the invoice body
All templates display the same columns in the same order.

Top of Invoice layout
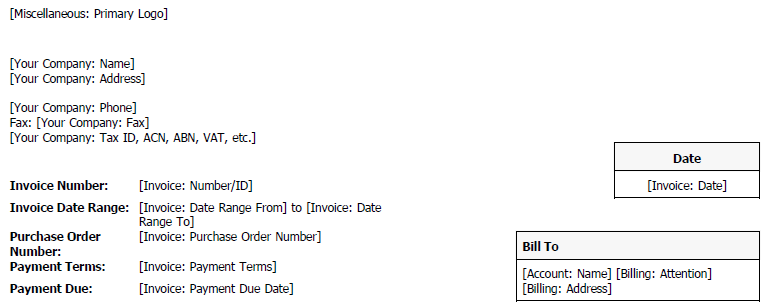
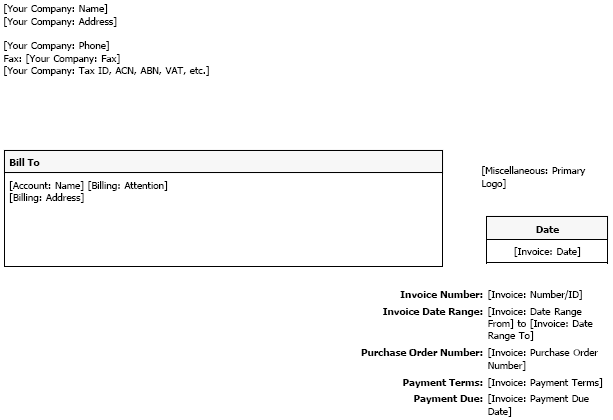
The 3 system templates differ in the arrangement of the customer billing address, your address (the sender), and invoice level information:
- Bill to address on left

- Bill to address on right
- Double window
Bottom of Invoice layout
The bottom of the invoice is identical: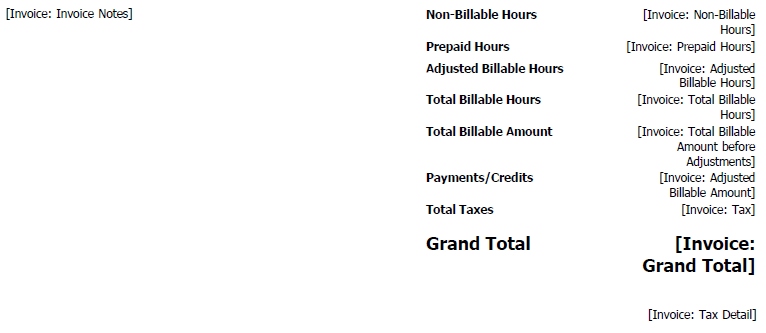
Labor invoice items detail
The description field for labor items shows this information: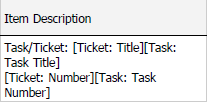
You can modify invoice templates on the following page: Left Navigation Menu > Admin > Admin Categories > Features & Settings > Finance, Accounting & Invoicing > Invoices > Invoice Templates.


